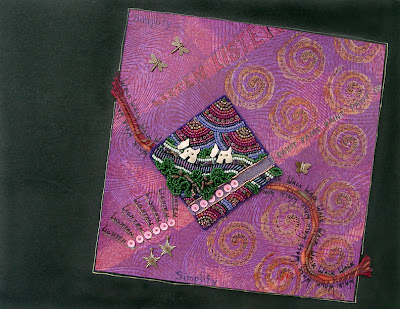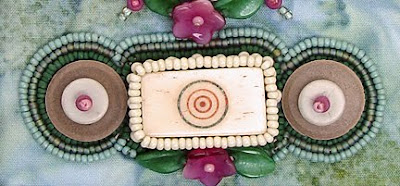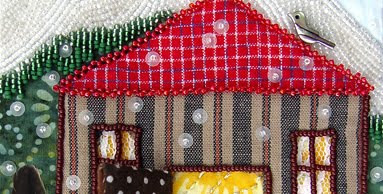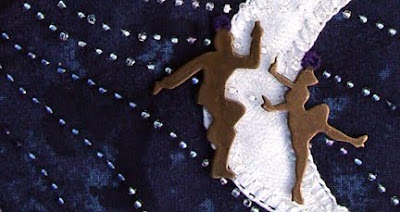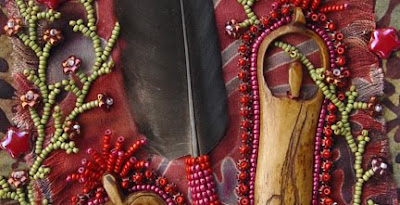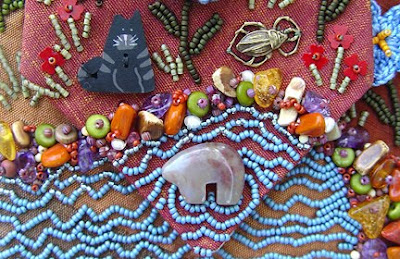
During 3+ years of blogging, several readers have complimented me on my blog pictures and asked what type of camera I use. So today, I’m going to write about how I take and edit pictures for my blog. I’m no professional and still have much to learn. Yet, for the most part, my pictures aren’t too bad…

My camera is an old,
Sony Cybershot 717. It’s seven years old and obsolete by today's camera standards. However, it still works great and I've taken many thousands of pictures with it. Although it's only
5 mega pixels, it has a quality lens and the ability to take macro shots as close as an inch away from the subject. When taking pictures for the web or for printing pictures 8x10 size or less, 5 mega pixels is perfectly adequate. My brother bought a re-conditioned, used camera like mine a few years ago on eBay and is pleased with the pictures it takes of his
beadwork and quilts.
 In my experience, however, the real trick for quality images is more about photo editing than the camera.
 Learning how to use
Photoshop was the best thing I ever did for myself to improve pictures of my beads and beadwork.
Tips for taking pictures of beadwork
1. Beads are shiny objects, which reflect light, especially faceted beads. Therefore, almost all direct lighting yields terrible results.
I take most of my pictures outside on days when there are high clouds and the sun is overcast. If I can’t wait for a day like that, I take pictures outside in the full shade and place a large white cardboard behind the item (out of the picture frame) and wear a white bib apron to capture and reflect ambient light. If it’s raining or snowing and I can’t wait for a better day, I take pictures inside near a south-facing window (with all the lights in the room turned off) around noon or when there is the most light in the sky. I own three professional lights and a light tent. However, I rarely use these. Natural light on an overcast day gives better results with truer color.
2.
Camera shake is responsible for many out-of-focus pictures of beading. The closer the camera is to your subject, the more you’ll see the effects of camera shake. I always try to brace my elbows on something and hold my camera with both hands. When I really care about the picture, I get out the tripod and take the picture with a remote control cord.
3. Another common reason for pictures being out-of-focus is using automatic focus with an incorrect camera setting. For my camera, if I am less than 3 feet from my subject, I must select the
macro setting if I want my subject to be in focus.
4. One more reason for out of focus pictures has to do with
depth of field. Flat beaded objects aren’t a problem. But if you are photographing a cuff or a sculptural item, you’ll want as much of the subject as possible to be in focus. The closer the camera lens is to the object, the less depth of field you will have.
Therefore, don’t get too close. The more depth of field you need, the father away from the subject you need to be, even if there is a lot of extra space around the subject as seen through your viewfinder. When editing your image, you can crop the background away.
5. Distortion is another problem you will sometimes have when the lens is too close to the object. Again, it helps to move farther from the subject. Later, you can crop the picture to show just your subject.
 Tips for Learning Photo Editing
I use
Photoshop CS and occasionally
Photoshop CS2. I do not have experience with other photo editing programs. I’ve heard that the less-expensive
Photoshop Elements offers many good features, but I haven’t seen or used it yet. Whatever photo editing program you use, there are certain things that can greatly improve the quality of your digital photos.
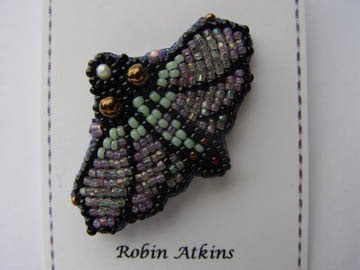
For example, below is the original photo I took of the moth pin (posted
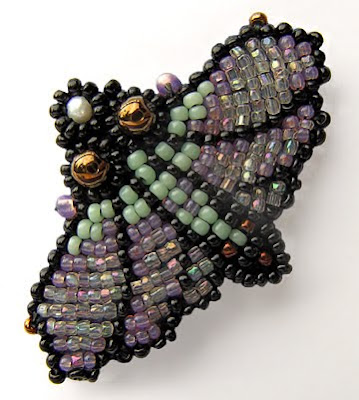
here). Not a very pretty picture, is it? Below that is the same photo after I edited it with
Photohop CS.

 To learn Photoshop, I took a 20-hour class at our local community college
. That was a good start, but I needed more. Scott Kelby has written several excellent books that provide everything else I need to know. The
Photoshop Book For Digital Photographers is my favorite of his books.
The following are the
Photoshop editing features that I find most important and use most often. Although I'm not explaining in detail how to use these features here, the list will give you an idea of what features are important to have and to learn in the photo editing process.
1.
Levels. The first thing I do with each image is adjust RGB (red green blue) levels. Most photo editing programs offer an “auto level” adjustment feature, but generally it’s not as accurate as doing the adjustment for each range of the spectrum individually.
2.
Shadow/Highlight. My second adjustment is one that brings out the details in the shadows and the highlights. This adjustment will make the picture look a little flat. But you will be able to see detail in all areas of the picture. For example, in the moth pin original picture (above), you can barely see detail in the lower body of the moth. In the adjusted picture, all of the detail is seen.
3.
Brightness-contrast. Next I adjust the brightness level. If I have previously adjusted shadow-highlight, then it’s often necessary to increase the contrast a little.
4. If I’ve taken a picture of a square or rectangular object, I check for distortion. This can be corrected using the
transform adjustment, which allows me to compress or extend the image at each of the corners.
5.
Rotate and crop. I rotate the picture as needed so that the subject is in the desired position. I crop the edges of the picture to showcase my subject with only a small amount of background.
6. Many times, my pictures have a blue cast to them, especially if I’ve shot them in low light conditions. There are several different ways to correct color. The easiest way to correct a cool color cast is to apply a warming
photo filter. Red is a color that may look too garish in digital photos, especially if the contrast is high. To correct an over-intense color, I use the
Hue/Saturation adjustment, selecting the offending color range and lowering the saturation level.
7. It’s useful to know how to
burn (darken) and
dodge (lighten) specific areas or tones in your picture. For example, if you need better contrast in a certain area of your picture, you could burn the shadows and dodge the highlights in just that area.
8. On important pictures, like the ones for my books, I often remove the entire background. For this you need to know how to
paint the background white or
erase it altogether. I’ve never found a quick or easy way to do this. I enlarge the picture to 400% and work in very small areas so that I don’t accidentally erase or paint over details on the edge of my subject.
9.
Rubber stamping is a good feature to learn. It allows you to copy any size area and paste it somewhere else. I use it to fix backgrounds and occasionally to place a copied bead over a bare thread, where my bead spacing wasn’t quite right. These areas are more noticeable in a digital picture than they are on the real piece.
10.
Save as. After all the above adjustments, but before sizing and sharpening, I save the picture as a tiff (.tif) in a folder called Adjusted Pictures. Later if I want the image a different size or perhaps sized for printing, I work from this version. After saving, I continue to edit the image for my blog or other web application using the steps below.
11.
Sizing. It’s very important to learn how to size your images, with appropriate dimensions and resolution for your intended use. If a picture is for my blog and I want it sized for maximum click-to-enlarge, I generally set the resolution to 72 pixels per inch. I set the width to no greater than 12 inches and the height no greater than 9 inches. If a picture is for my blog but not one where the enlarge feature is important, I set the width and height to under 5 inches. I posted specifically about sizing pictures so they will click to enlarge
here.
12.
The final step, after sizing, is to sharpen my picture. Sharpening will not fix an out-of-focus picture. Nothing will fix that. If your image is out of focus, delete it from your files and shoot a new picture. For an in-focus image, sharpening may bring out the details in an attractive way if not overdone. If you have reduced the size of your adjusted image significantly, it is necessary to sharpen it. I use the unsharp mask filter for this (amount: 90 to 200, radius: 0.2 to 0.5, threshold: 2)
13. When I’m finished with all the above adjustments, I save the image again, this time as a jpeg (.jpg) in a sub-folder within my main Blog Pictures folder.

It's wonderful to feel good about the pictures I post here or on my website or Flickr, to feel that they adequately represent the quality, colors and attractiveness of my beading! Learning to do this has involved a lot of trial and error... it wasn't easy for me. But, it certainly is worthwhile! Hope this post will help some of you!


