But after moving to the island where I've lived for 20 years now, I gradually got into quilting and textile arts, kept the beadwork going, and cut way back on painting. Until now!
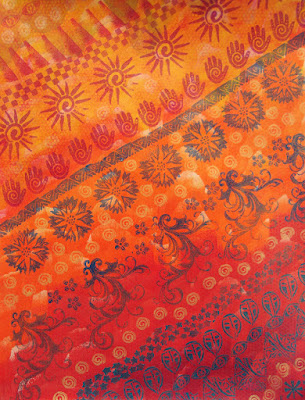
Inspired, cajoled, and arm-twisted by one of the Textile Guild members, who wants to learn how to paint papers and make books like mine, I agreed to teach a workshop (2 days of painting and 2 days of bookmaking) for the guild members. Of course, since I hadn't painted for many years, I first had to get back into practice. Yay! What fun I've been having, painting in my shed (thankfully heated). The paper below is my favorite of about 20 painted in the last two weeks. The size is 18 x 24 inches. (Please click to see the details!)
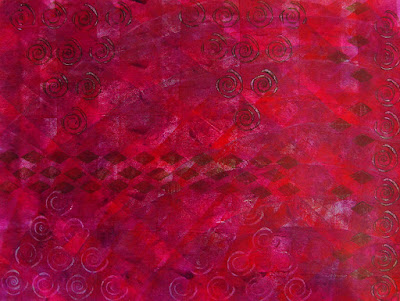
And below are two more to go with it. The paper above will be used for a book cover, even though it will be hard for me to cut it up. The two papers below will be cut (horizontally) into thirds, and used as signature covers. For those unfamiliar with bookmaking, a signature is a section of papers within a book. Each of the six signatures in my book will be covered with this decorative paper.
It's a fun, playful, and experimental process to paint like this, easier for me than it would be to paint figuratively (landscape, still life, or people). With this type of painting, I just mix matte medium with a color or two of acrylic paint, and apply it by rolling, stamping, stenciling in layers. I keep adding layers until I like it, at which point it's a finished paper. There is always at least part of each paper that pleases me enough to use it for bookmaking and paper arts.
These are the basic supplies and tools I use to paint the papers:
1.) Although acrylic paints and this method can be used to paint on almost any surface or paper, I usually paint on 80-90# drawing paper to make decorative papers.
2.) I prefer using a roller to apply background colors or glazes, rather than a brush. My favorite, purchased online from Dick Blick Art Supplies, is a 2.2" dense foam roller.
3.) Assorted stamps and stencils. I carve a lot of my own stamps, as you will see below, but sometimes also use commercial stamps. Note that commercial rubber stamps with fine detail for stamping with inks do not work well with acrylics, as the paint clogs the fine lines, ruining the stamp.
4.) Assorted materials, such as a notched adhesive-spreader, coarse sea-sponge, webbed food packaging materials, and bubble wrap are useful to print, texture, and stencil.
5.) Acrylic paints. I use heavy-body paint (rather than fluid acrylics) of student-grade or better quality.
6.) Matte medium and glazing medium (slow drying) are added to extend the paint.
I know, maybe you're thinking I should do a video tutorial. OK. You set it up, and I'll do it. In the meantime, I'd rather be painting... Here are three more recently painted papers for your viewing pleasure (I hope).
The one directly above is my attempt to emulate batik fabric from India. I had a bedspread back in the hippy 60s with a burgundy design on a mustard yellow background, the memory of which was the inspiration for this paper. I carved all of the stamps used to make it.
I love to carve my own stamps, and sometimes cut my own stencils as well. Let's take a look at that process. It's quite easy really, requiring only a block of Speedy-Carve (or other high-density rubber carving block), and a Speed-Ball Carving tool. Designs can be free cut, drawn right on the carving block, or transferred from a tracing. Here's a fairly decent tutorial on the stamp carving process.
Designs? Well, everywhere I look I see possibilities for carving more stamps! Recently, visiting a fabric store with my quilting buddies, I spied a fat quarter of batik fabric with a luscious design. Here is the fabric:
And here is the stamp I carved from a tracing I made of the central flower. The stamp is the same size as on the fabric, about 3" in diameter.
I also cut a stencil, which you can see below. A friend had a commercial stencil of these three leaves, which I really liked. After borrowing her stencil to use on one of my papers, I traced the painted image, and cut out my own stencil. The tool in this image is a Speed-Ball cutter, which I use to carve the rubber to make stamps.
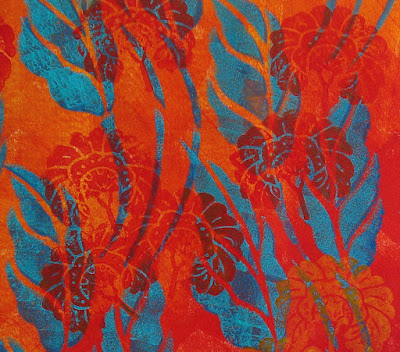
You've already seen (way above) the whole sheet of paper I painted using just this stamp and stencil, but here's a detail. If you click to enlarge, you can see more about how I paint in layers, first the background colors, next the leaves, then a different color over-stencil on the leaves, and last the flowers.
If you like to play with paint, you might want to give it a try! Here are just a few more of my recently painted papers to tempt you...
I'll be teaching a 2-day bookmaking workshop in mid-May using papers like these to create three different books. There may still be a spot or two available in the class. If you are interested, you can contact me for more information.
You may want to visit my website to see more about my handmade books and painted papers. And there are several earlier posts here on Beadlust with pictures of books made with painted decorative papers and beading by my students, as well as other related topics. Here are a few of them:
- Wedding book
- Lisa's book (from a workshop I taught in Wisconsin); her fabulous website is here.
- Susan's book (from a workshop I taught in Wisconsin)
- painting papers for making Christmas cards
- Using symbols in our art and symbols in acrylic painting
- Using these techniques to paint with dyes on fabric and more fabric paint/dye examples
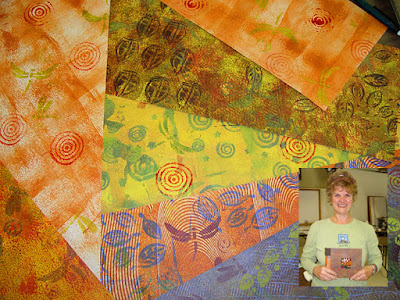
Susan Anderson took my bookmaking/painting/beading workshop twice at the Coupeville Art Center. These are the papers for her first book, and if you click to enlarge, you can also see her finished book.
And, to close this post, here is a photo of some of the handmade books I've created over the years... most of them utilize decorative painted papers and bead embroidery.
Thanks for sticking with me to the end of this long post :)!













Lovely papers. I wish I could have taken the class in Friday Harbor--but had another commitment. Janet
ReplyDeleteI would have loved to have you in the class, Janet... But, come take the book making workshop May 13-14. You don't need to have your own painted papers to make the books, as there are lots of other options. Call me about that, if you have an inkling of interest and will be here at that time. Thanks for commenting. Robin
DeleteLovely like everything you do! So glad to see you are inspired and being creative :-)
ReplyDeleteThank you, Kelly. I don't always feel like I'm a creative person, but I do love to make stuff!
DeleteBeautiful Robin! I so wanted to participate, but my personal exchequer would not allow for the fun right now...thanks so much for another amazin, information filled post!
ReplyDeleteThanks, Marie! I wish you could have come, as I know your papers would have been spectacular!
DeleteThis comment has been removed by the author.
ReplyDeleteWonderful work. So lovely to see you creating and blogging once again. I would love to do the class with you but distance is a bit far to come from New Zealand. I shall wait for the video class. Still love my spring piece that you sent me.
ReplyDeleteThanks, Diane. Yep NZ is a bit of a travel plan. Thanks for the encouragement to do the video class. Sending cheers across the seas!
DeleteI too love to make books and paper, I took some classes many years ago now, and loved it, and then the Gal moved away and there was no where local to buy supplies, but I still get the bug now and then and try to make do with what I can find. I gave a couple of classes on making Altered books that was quite fun and used some of the papers that I had made. Art its what makes life worth living. Love your papers.
ReplyDeleteI wonder if you happen to have a online class in both areas.
ReplyDelete